LM task
Tutorial Video
1. Create LM Task using Create Button.
OR
Create LM Task using Fetch Data Button.
Steps for Creating an LM Task :1. Click the Create Task button located at the top right corner (refer to img.1).
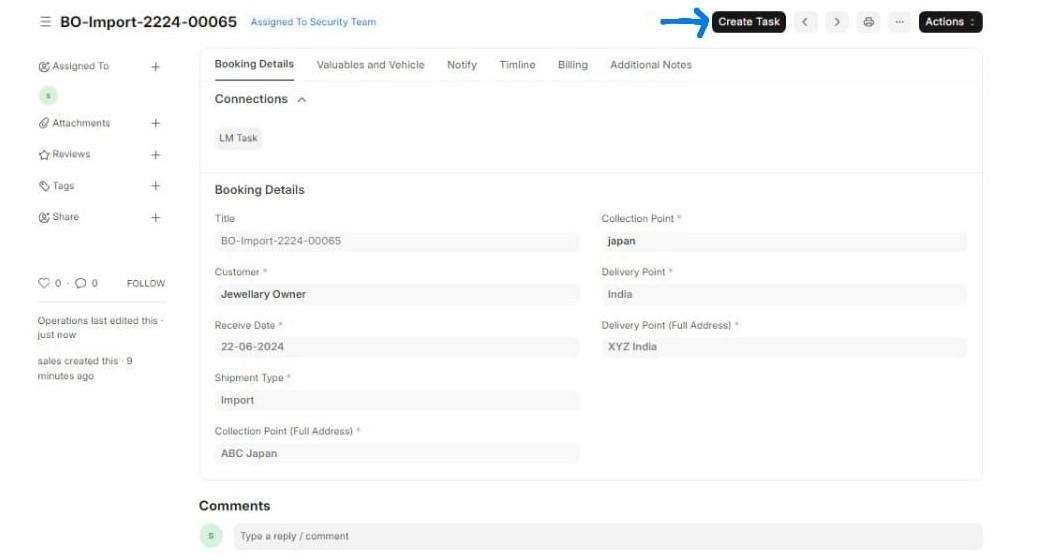 img.1
img.1
- After clicking, the task creation page will open (refer to img.2).
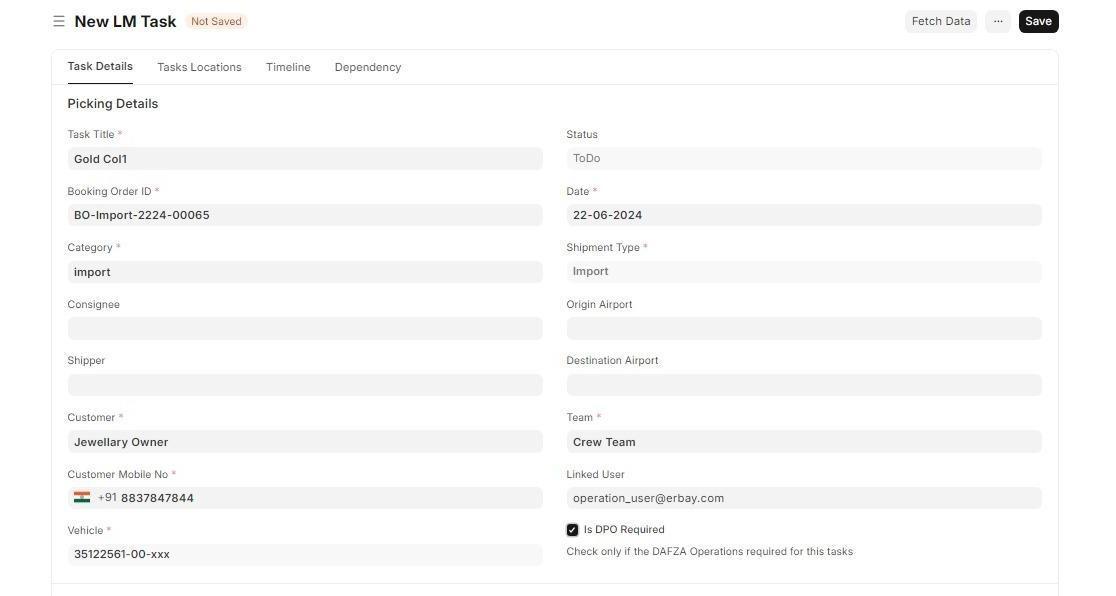 img.2
img.2
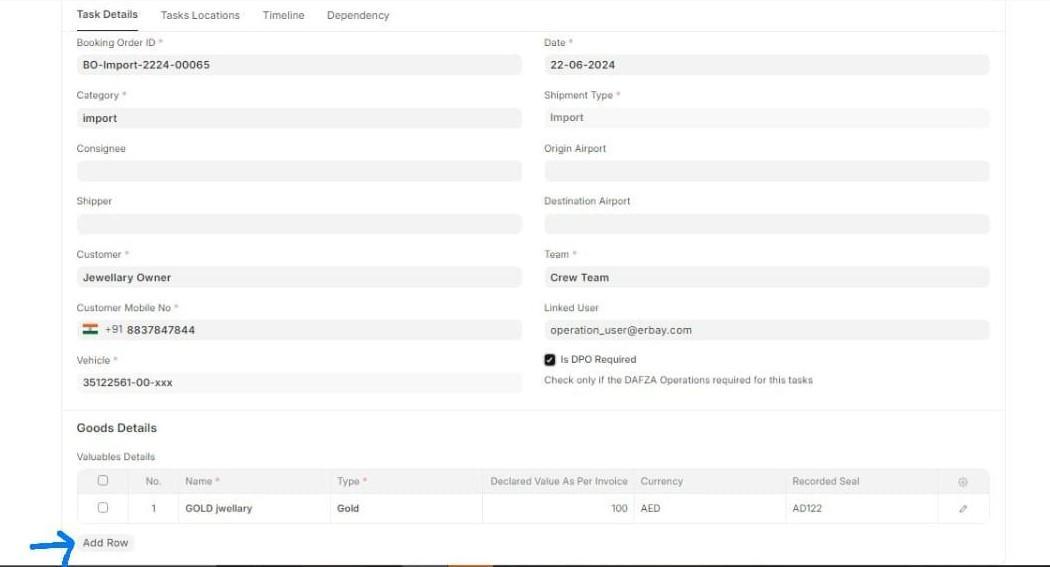
2. Fill in the New LM Task Details
- Task Title: Enter the title of the task. The booking order ID will be automatically fetched and does not need to be changed.
- Category: Create a task category, such as storage, local, import, or export.
- Consignee and Shipper: These fields are optional.
- Customer: Enter the customer's name and mobile number with country code.
 img.3
img.3
- Vehicle: Add vehicle details by clicking the add row button and selecting the date.
- Team: Select the team responsible for performing the shipping action (there are two types of teams available for selection).
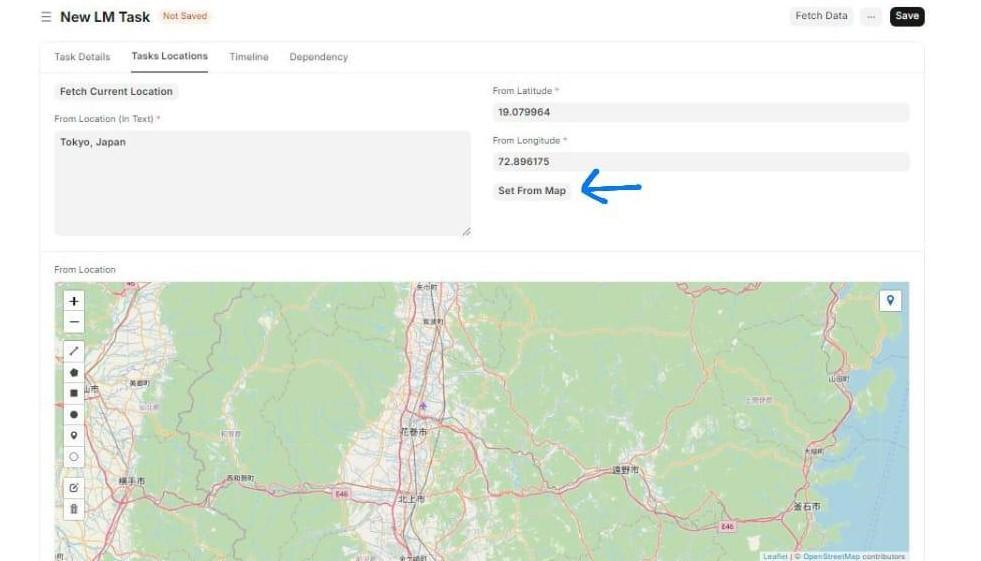
3.Task Locations
- From Location: If the LM task is performed at your current location, click Fetch Current Location. Otherwise, manually enter the collection point location or use the Set from Map button.
 img.4
img.4
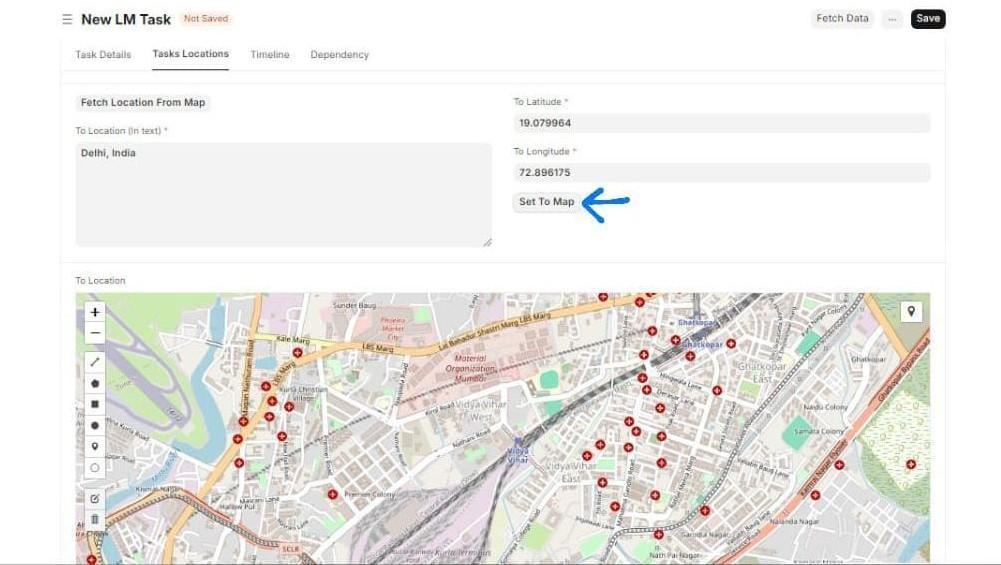
- To Location: If the LM task is performed at your current location, click Fetch Current Location. Otherwise, manually enter the delivery point location or use the Set from Map button.
 img.5
img.5
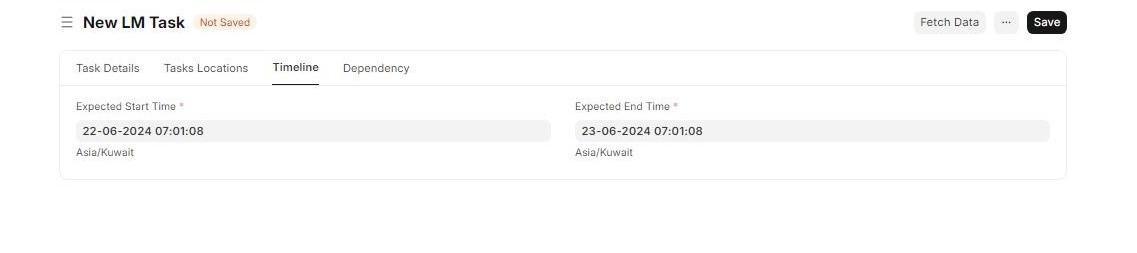
Timeline
- Expected Start Time: Select the expected start date.
- Expected End Time: Select the expected end date.
 img.6
img.6
5. Dependency
- First LM Task: No need to add a dependent task; keep it as it is.
- Subsequent Tasks: Click the Add row button to add tasks that the current LM task depends on (tasks created in the past).
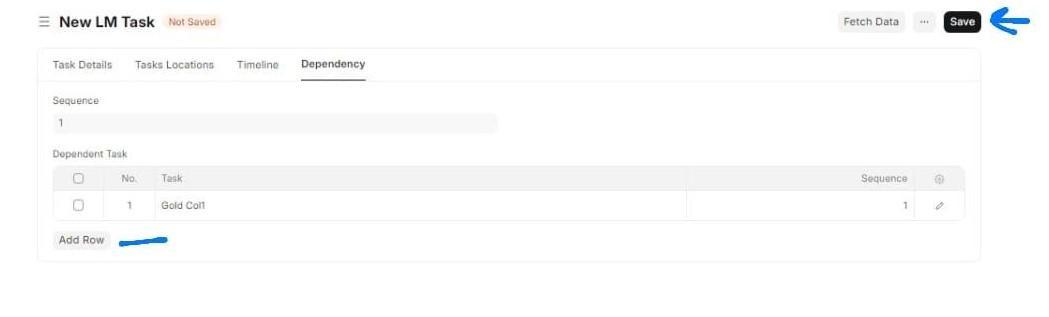 img.7
img.7
6. Save the LM Task
- Click the Save button. Your LM task will be successfully created, and the confirmation page will be displayed (refer to img.7).